Stealthy Water Bottle Node
For most of the day, I can be found carrying a T-1000e in my pocket. My home has (or will have) a node on the roof with a longer range antenna, and my T-1000e works perfectly to keep myself connected to the mesh, even if my phone can’t connect all the way to my roof node via bluetooth. However, when I travel outside of the house the tiny antenna in the T-1000e leaves something to be desired.
To fill this gap, I came up with a plan for a portable node with a longer range antenna that I could easily stick in a backpack or leave on my bike that wouldn’t raise any alarms. While I’m not averse to carrying around large antennas, I like to save this activity for radio meetups or cons, and be a little less obvious in my day to day life. I realized this bike water bottle I had was exactly the right length for the whip antenna I had laying around.
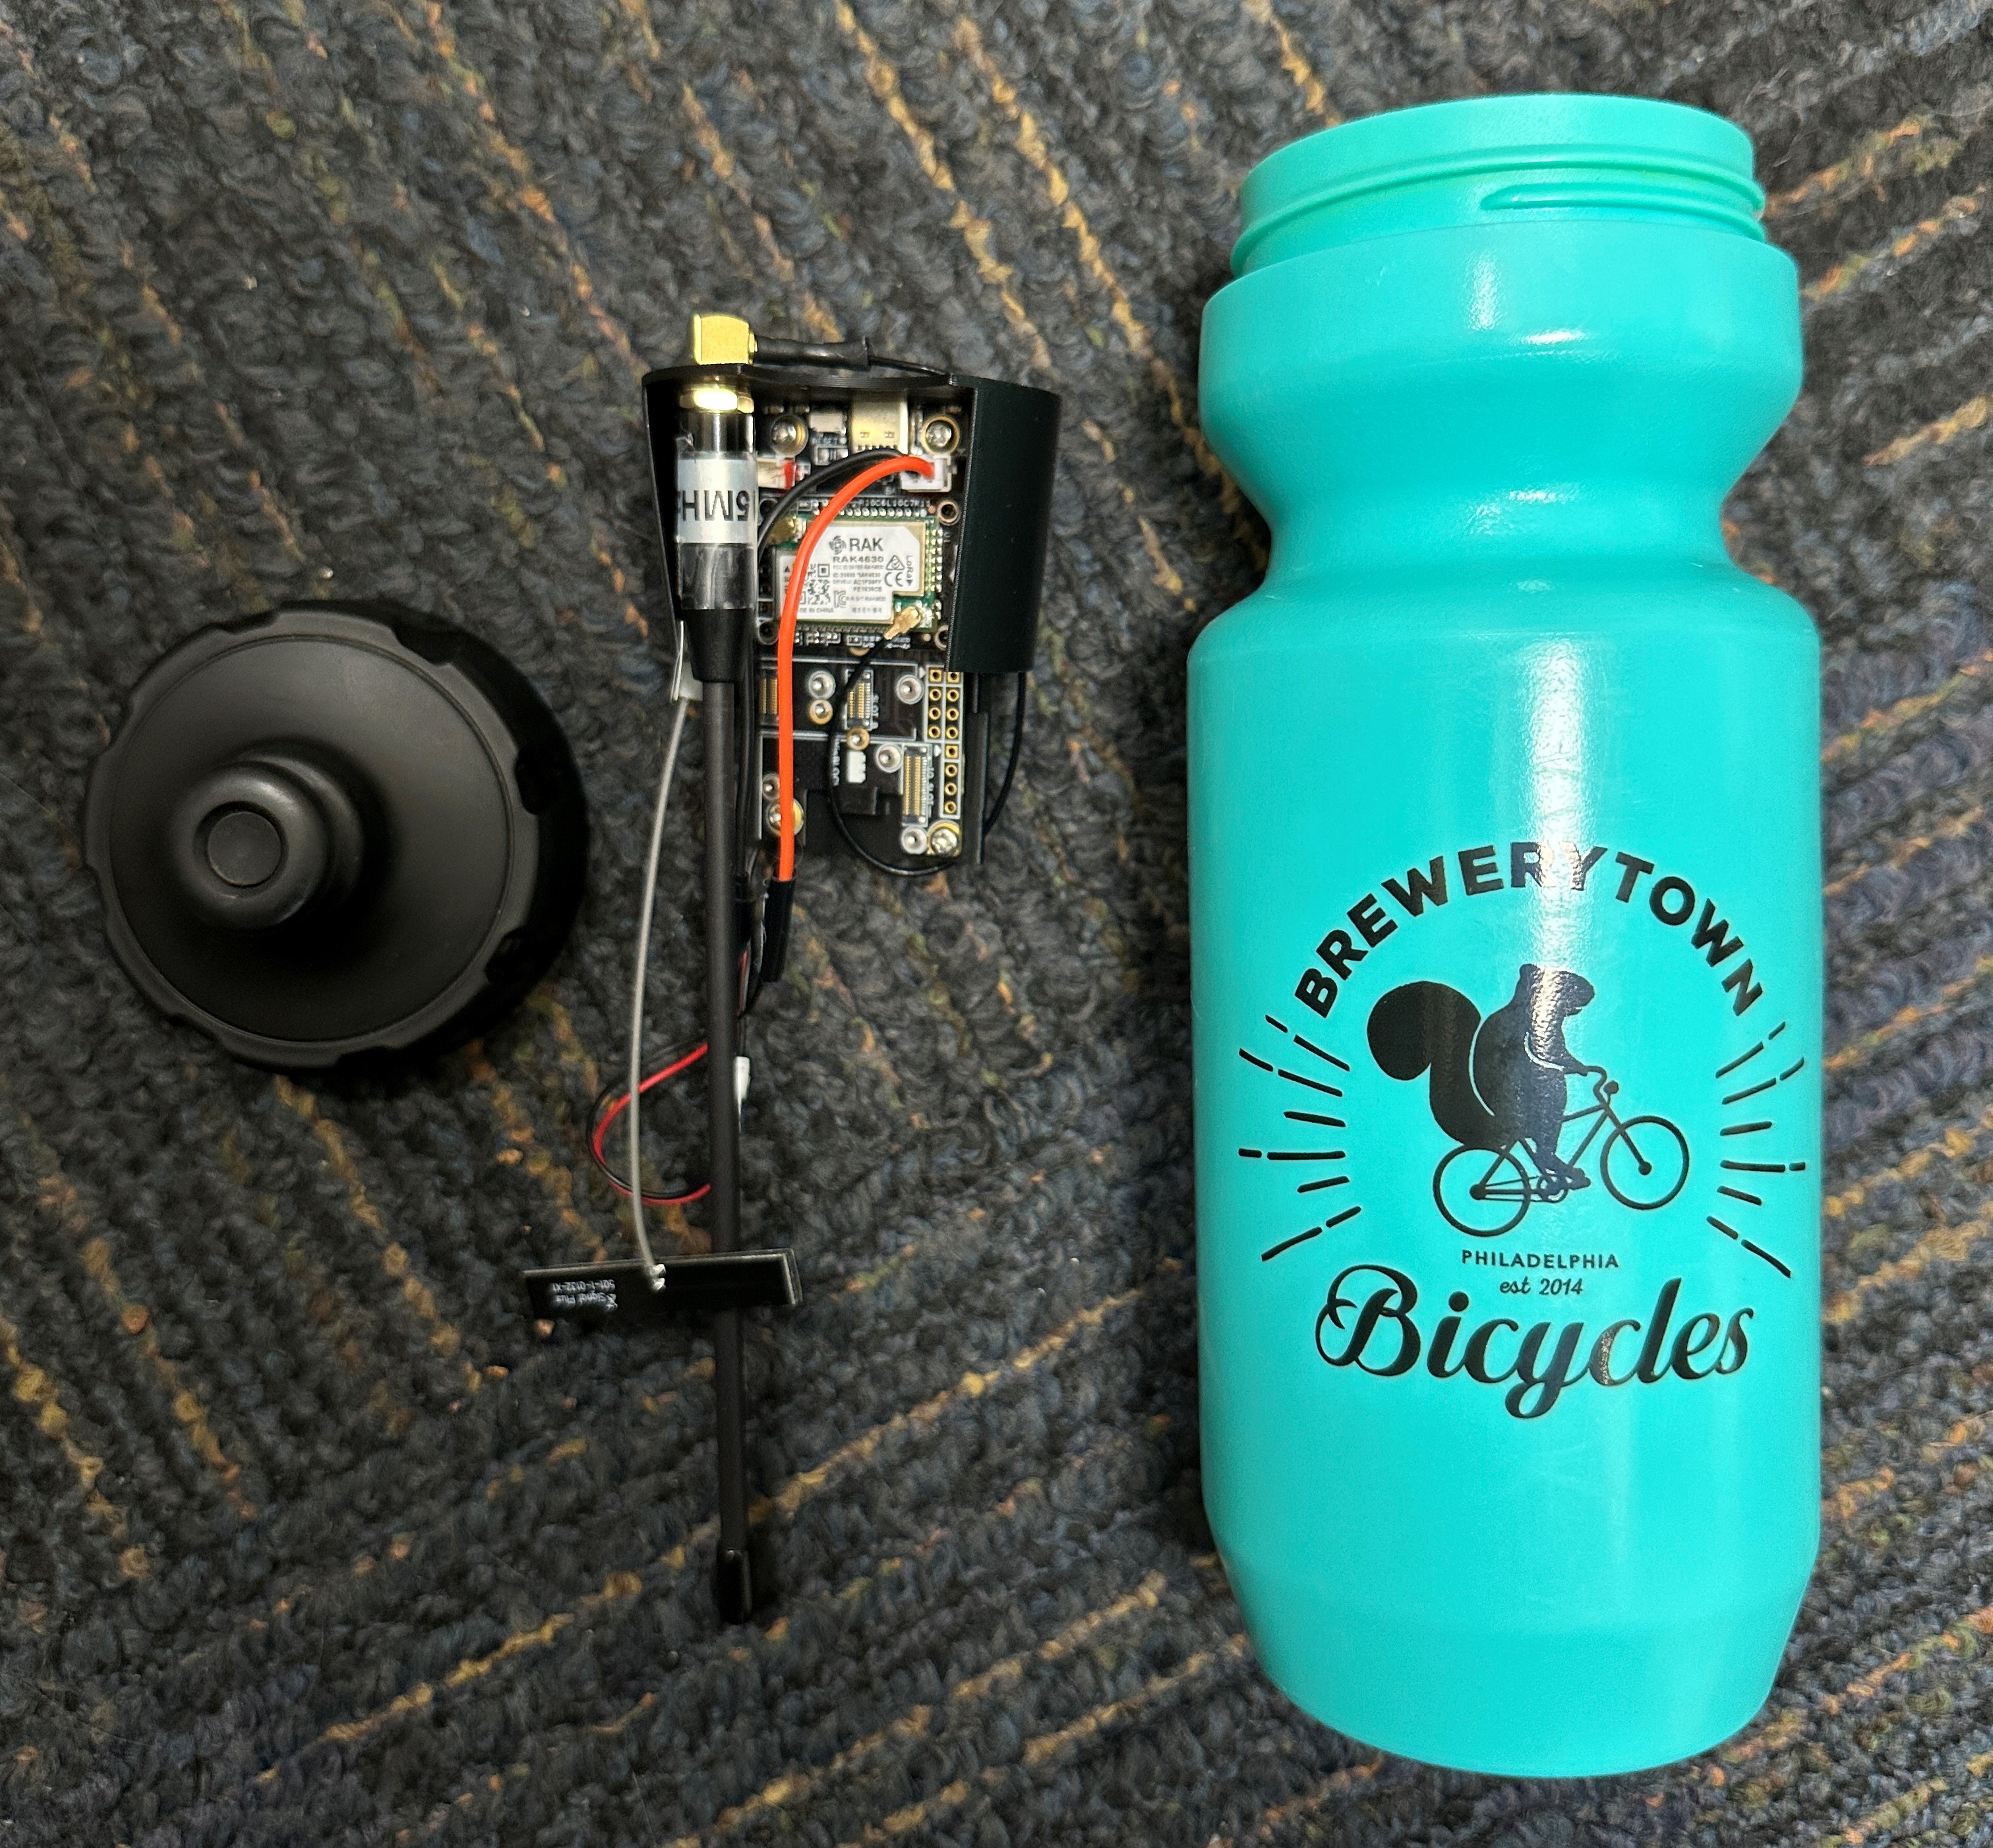
Since I built and started using this water bottle node, I don’t know how more people don’t do something like this! You can stick it in a water bottle pocket of a backpack and it stays vertically polarized. The antenna doesn’t get bent or unscrewed in your bag. It’s entirely waterproof so you don’t have to worry about getting caught in the rain. And it doesn’t get any curious looks from cursory bag checks at hospitals or museums. As a general disclaimer, I would NOT recommend bringing this to any high security location like an airport. TSA is generally fine with radio and Meshtastic equipment, but something like this might get you pulled into a room and interrogated about why you’re hiding wires, batteries, and antennas in a normal looking object.
The WisBlock with a 1200mAh battery lasts about a week between charges. This is plenty for me, but feel free to use a battery with more capacity to make it last longer, there’s plenty of extra space in the water bottle!
Parts list
Essential parts
| Parts | Price | Description |
|---|---|---|
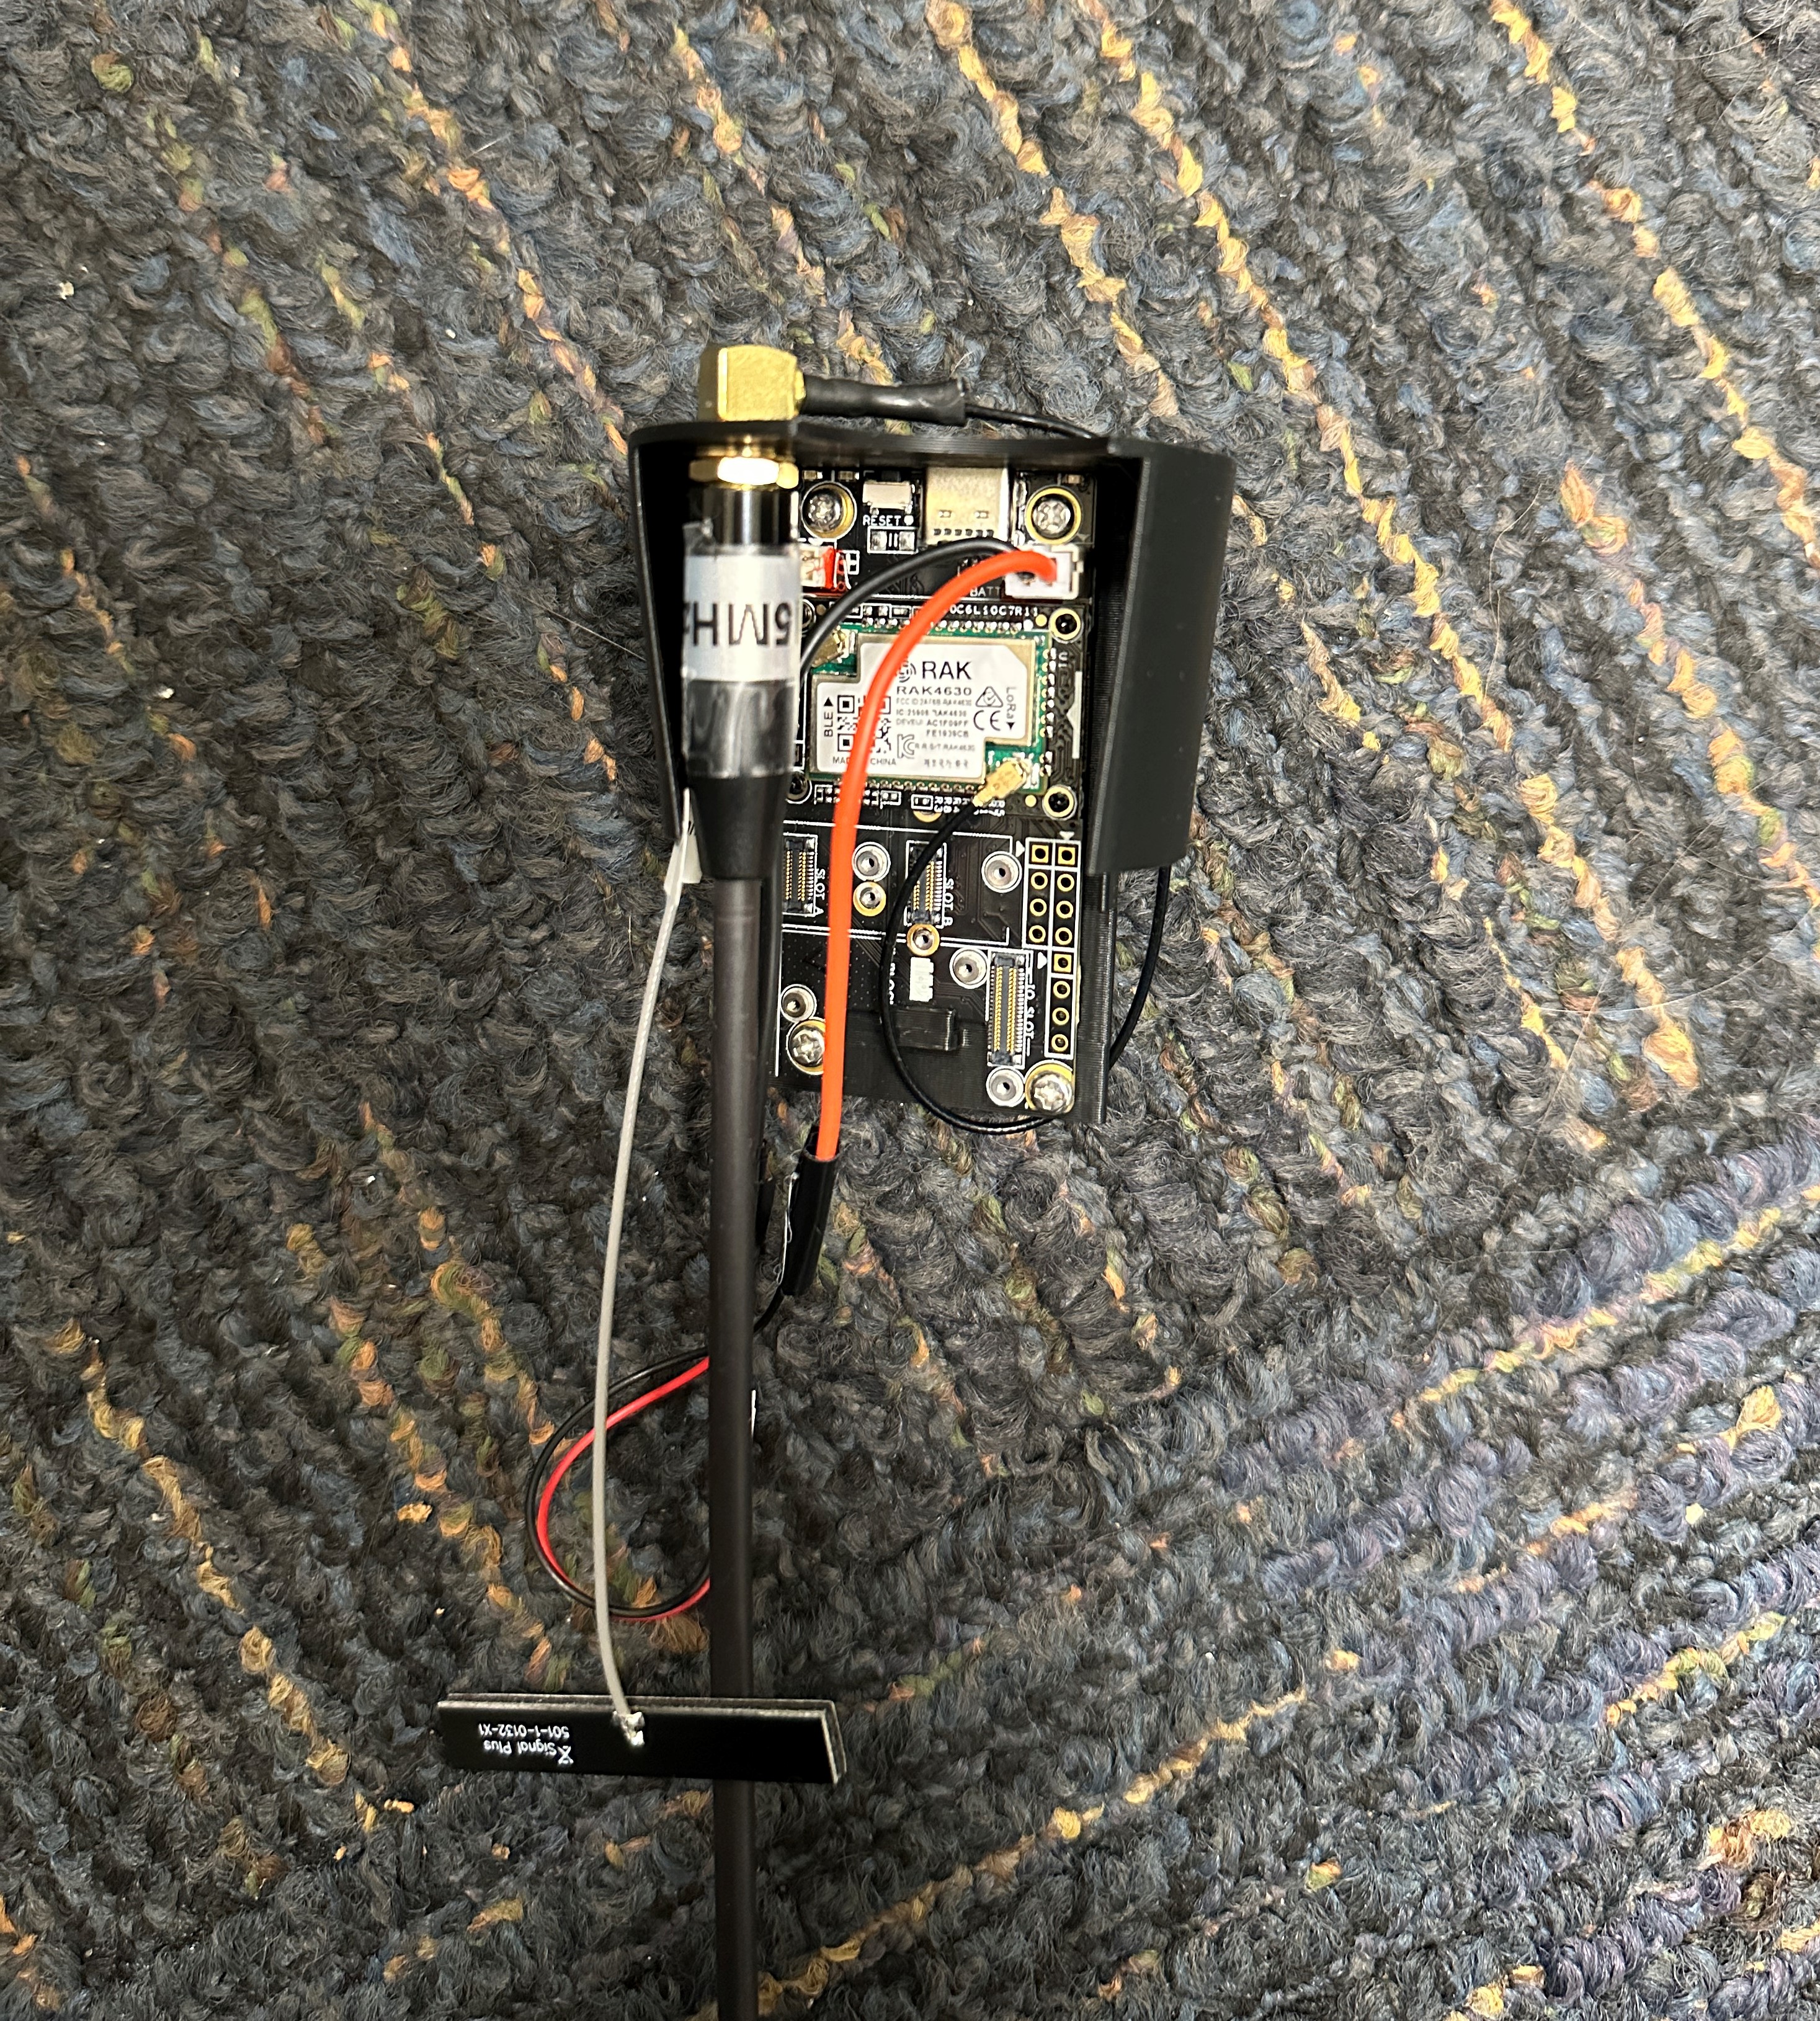
| WisBlock Starter Kit | $24.99 | This is the Meshtastic node. You want the RAK19007+RAK4631 (not -R) version. Pick the frequency for your region, USA is 915. |
| Water Bottle | $11.99 | I had a Specialized MoFlo 22oz bike water bottle lying around. It barely fits this 17cm Gizont whip antenna (that’s actually slightly less than 17cm) that I had, but may not fit other 17cm whip antennas. I’d recommend grabbing whatever antenna you have available and finding a water bottle that fits that. |
| Antenna | $13.00 | I can’t vouch for this particular distributer, but I’ve used Gizont whip antennas for many projects and always had good results. I think I bought this one on eBay, so just search the name of the antenna and find it wherever is most convenient. |
| MuziWorks H1 Battery (1200 mAh) | $9.90 | I had a couple of these because I made some of their 3D printed nodes previously |
Essential parts cost: $59.88 + shipping
Parts you may already have laying around
I break this section out because 1) you may already have some of these parts laying around, 2) you could get many of them individually for very cheap if you buy local, and 3) if you do have to buy online and in bulk, you will have some on hand and they will not contribute to the cost of your next build.
| Parts | Price | Description |
|---|---|---|
| Right angle SMA to IPEX cable | $10.99 | If you have tight clearances you’ll need one of these right angle cables rather than the usual straight ones. |
| JST Connectors 2mm male and 1.25mm female | $14.98 | The battery is 1.25mm JST and the WisBlock is 2mm JST, so you’ll need to solder two connectors together to make them connect. |
| M2.5 screws and nuts | $7-18 | You can get just M2.5 screws and nuts for much cheaper, but if you don’t already have a set of metric screws and nuts, it’s worth it to get a variety pack, which is what I have linked. |
| 3D Printed Node/Battery/Antenna Holder | free | This holds everything together |
Total cost: $92.85 + shipping
Assembly
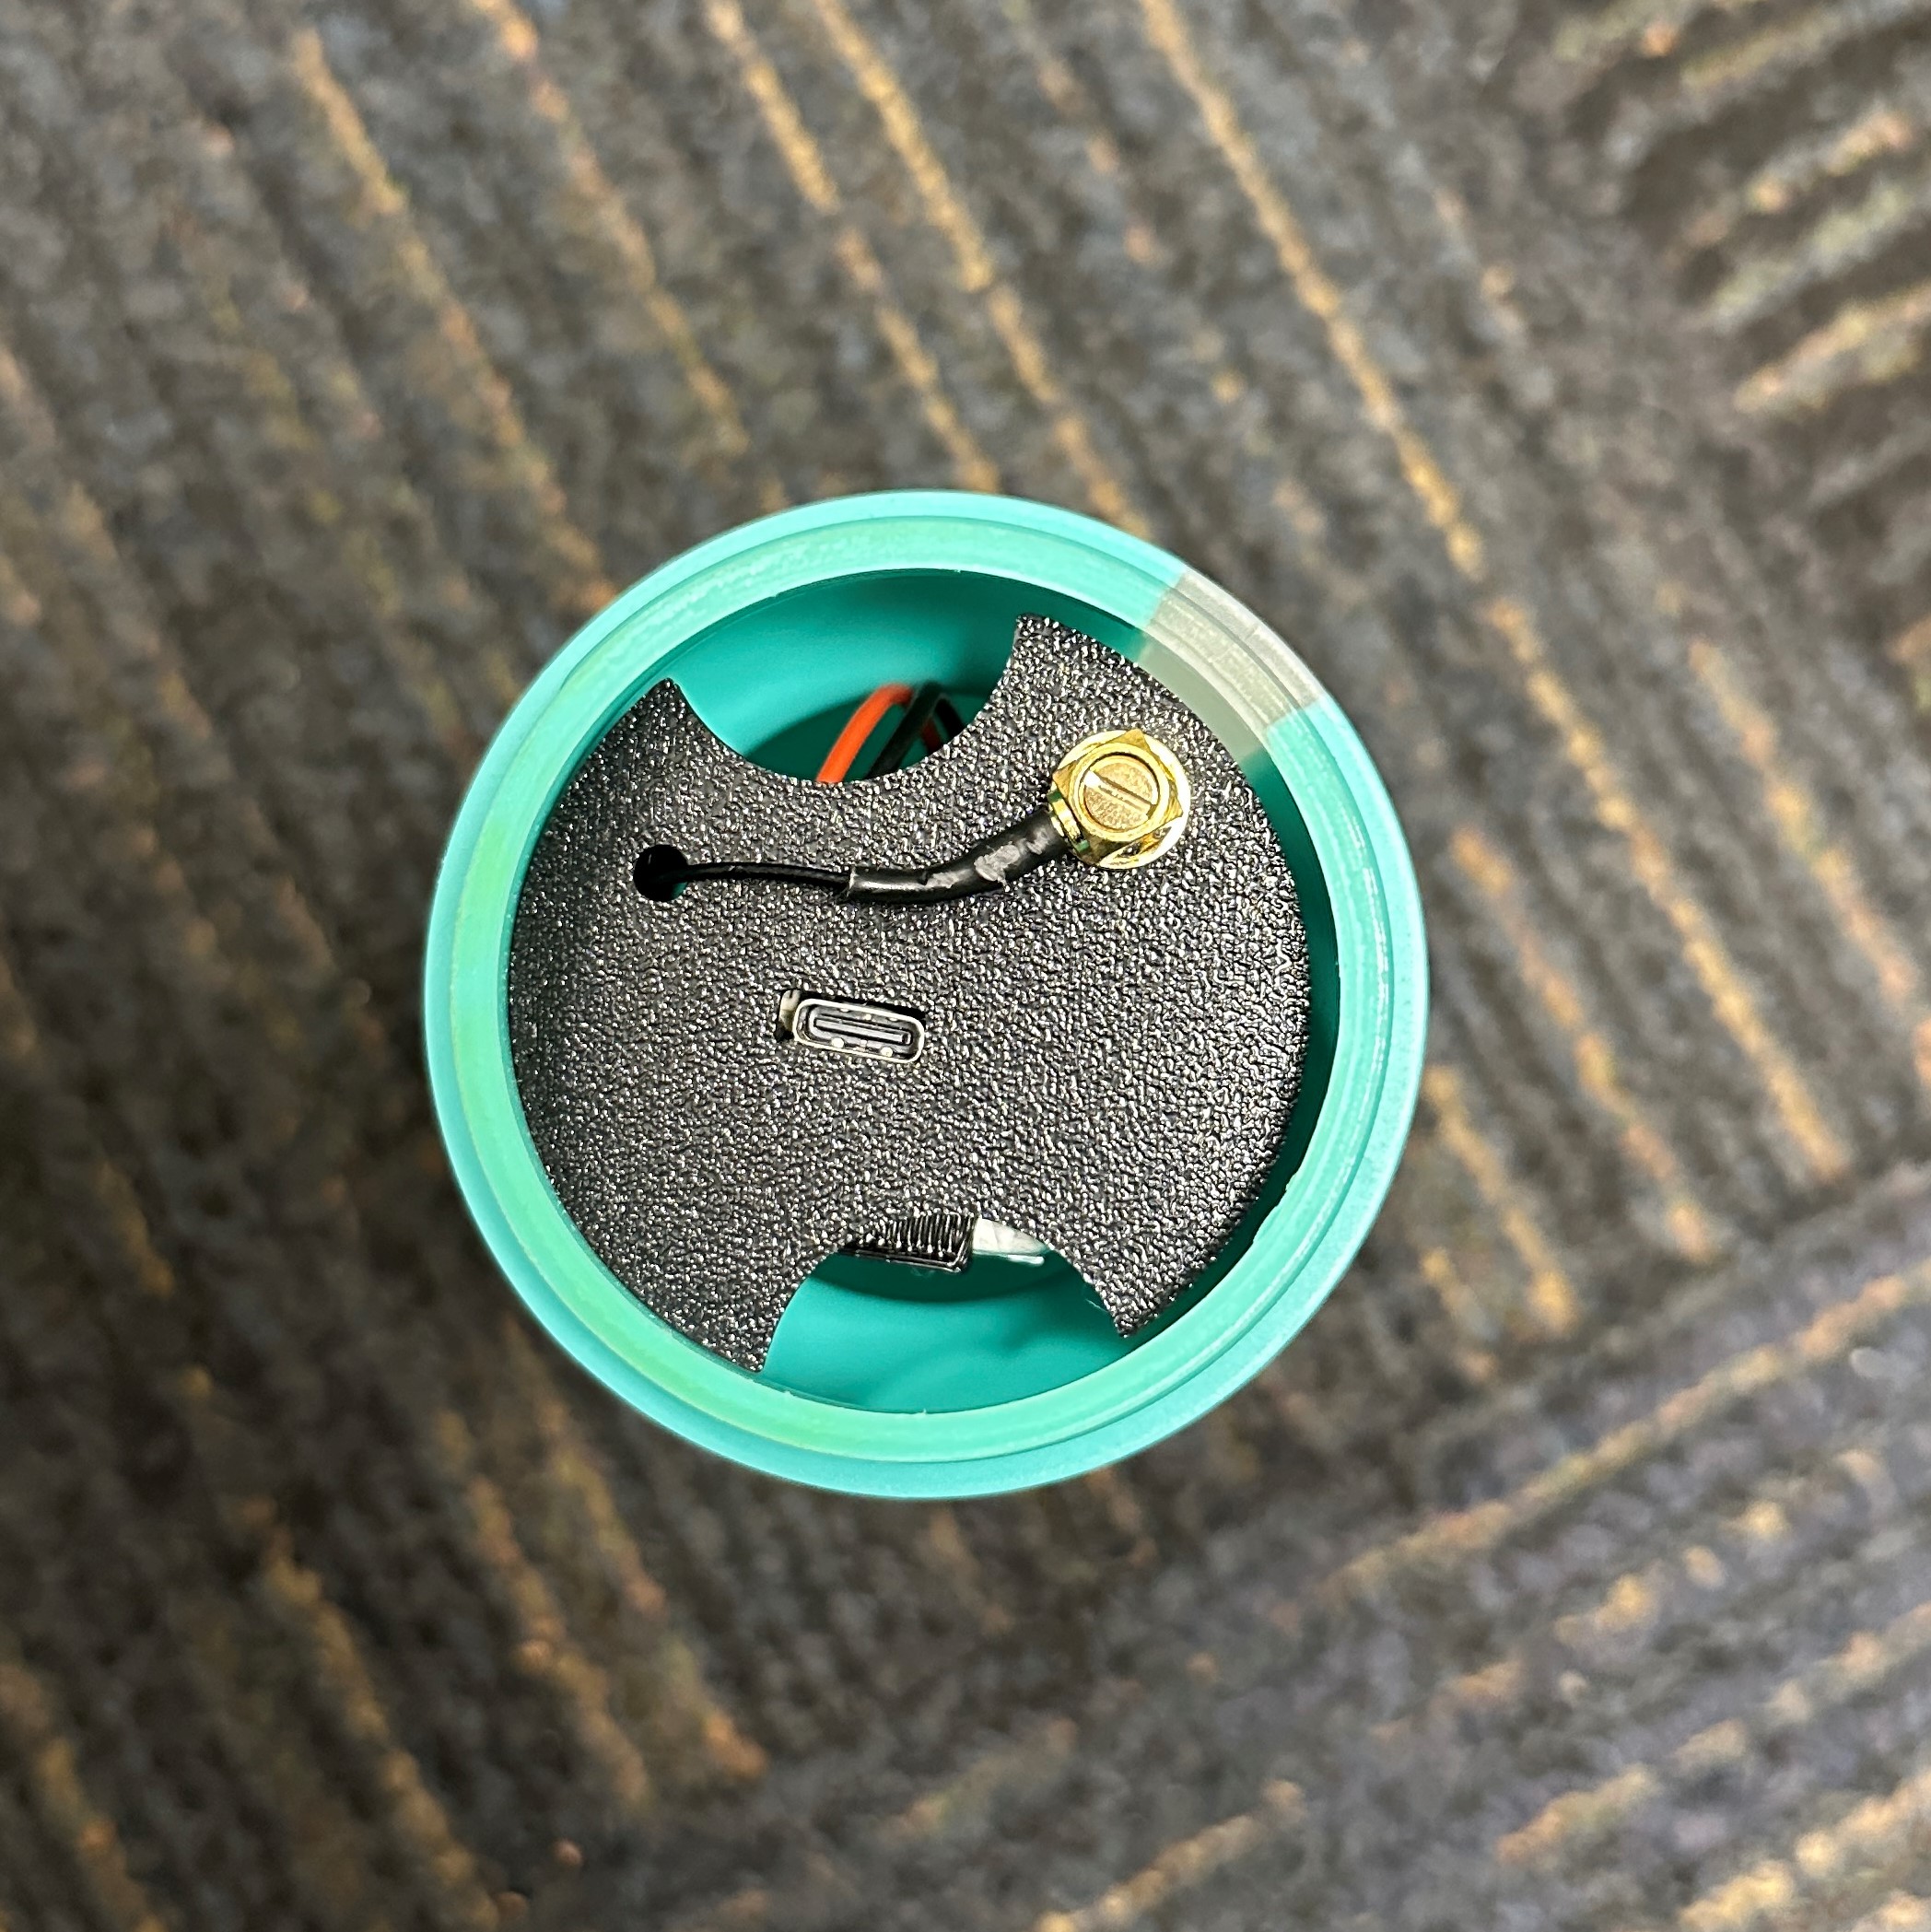
I threw together a 3D printed bracket that holds all of the components together and to charge all you have to do is unscrew the top to plug into the WisBlock’s USB-C port. If any of your parts are different than mine you will need to make your own. You can also just duct tape all the pieces together and throw them in the water bottle if you’d like, I did this for a month or so until I designed the bracket.
Screw the antenna into the bracket and feed the end of the pigtail through the top. The WisBlock goes on the side where the antenna pigtail feeds. It should slot in and then you can screw it in with the M2.5 screws and nuts to secure it.
You will need to solder the two JST connectors you got together to make a connector for the battery to the WisBlock. The connector will be 1.25mm female to 2mm male. Pay attention to the positive and negative terminals on the WisBlock!! It will likely be the reverse of what the battery sends out. You may need to solder the red leads of one connector to the black of the other and vice versa. If you mess this up, you will likely kill your WisBlock.
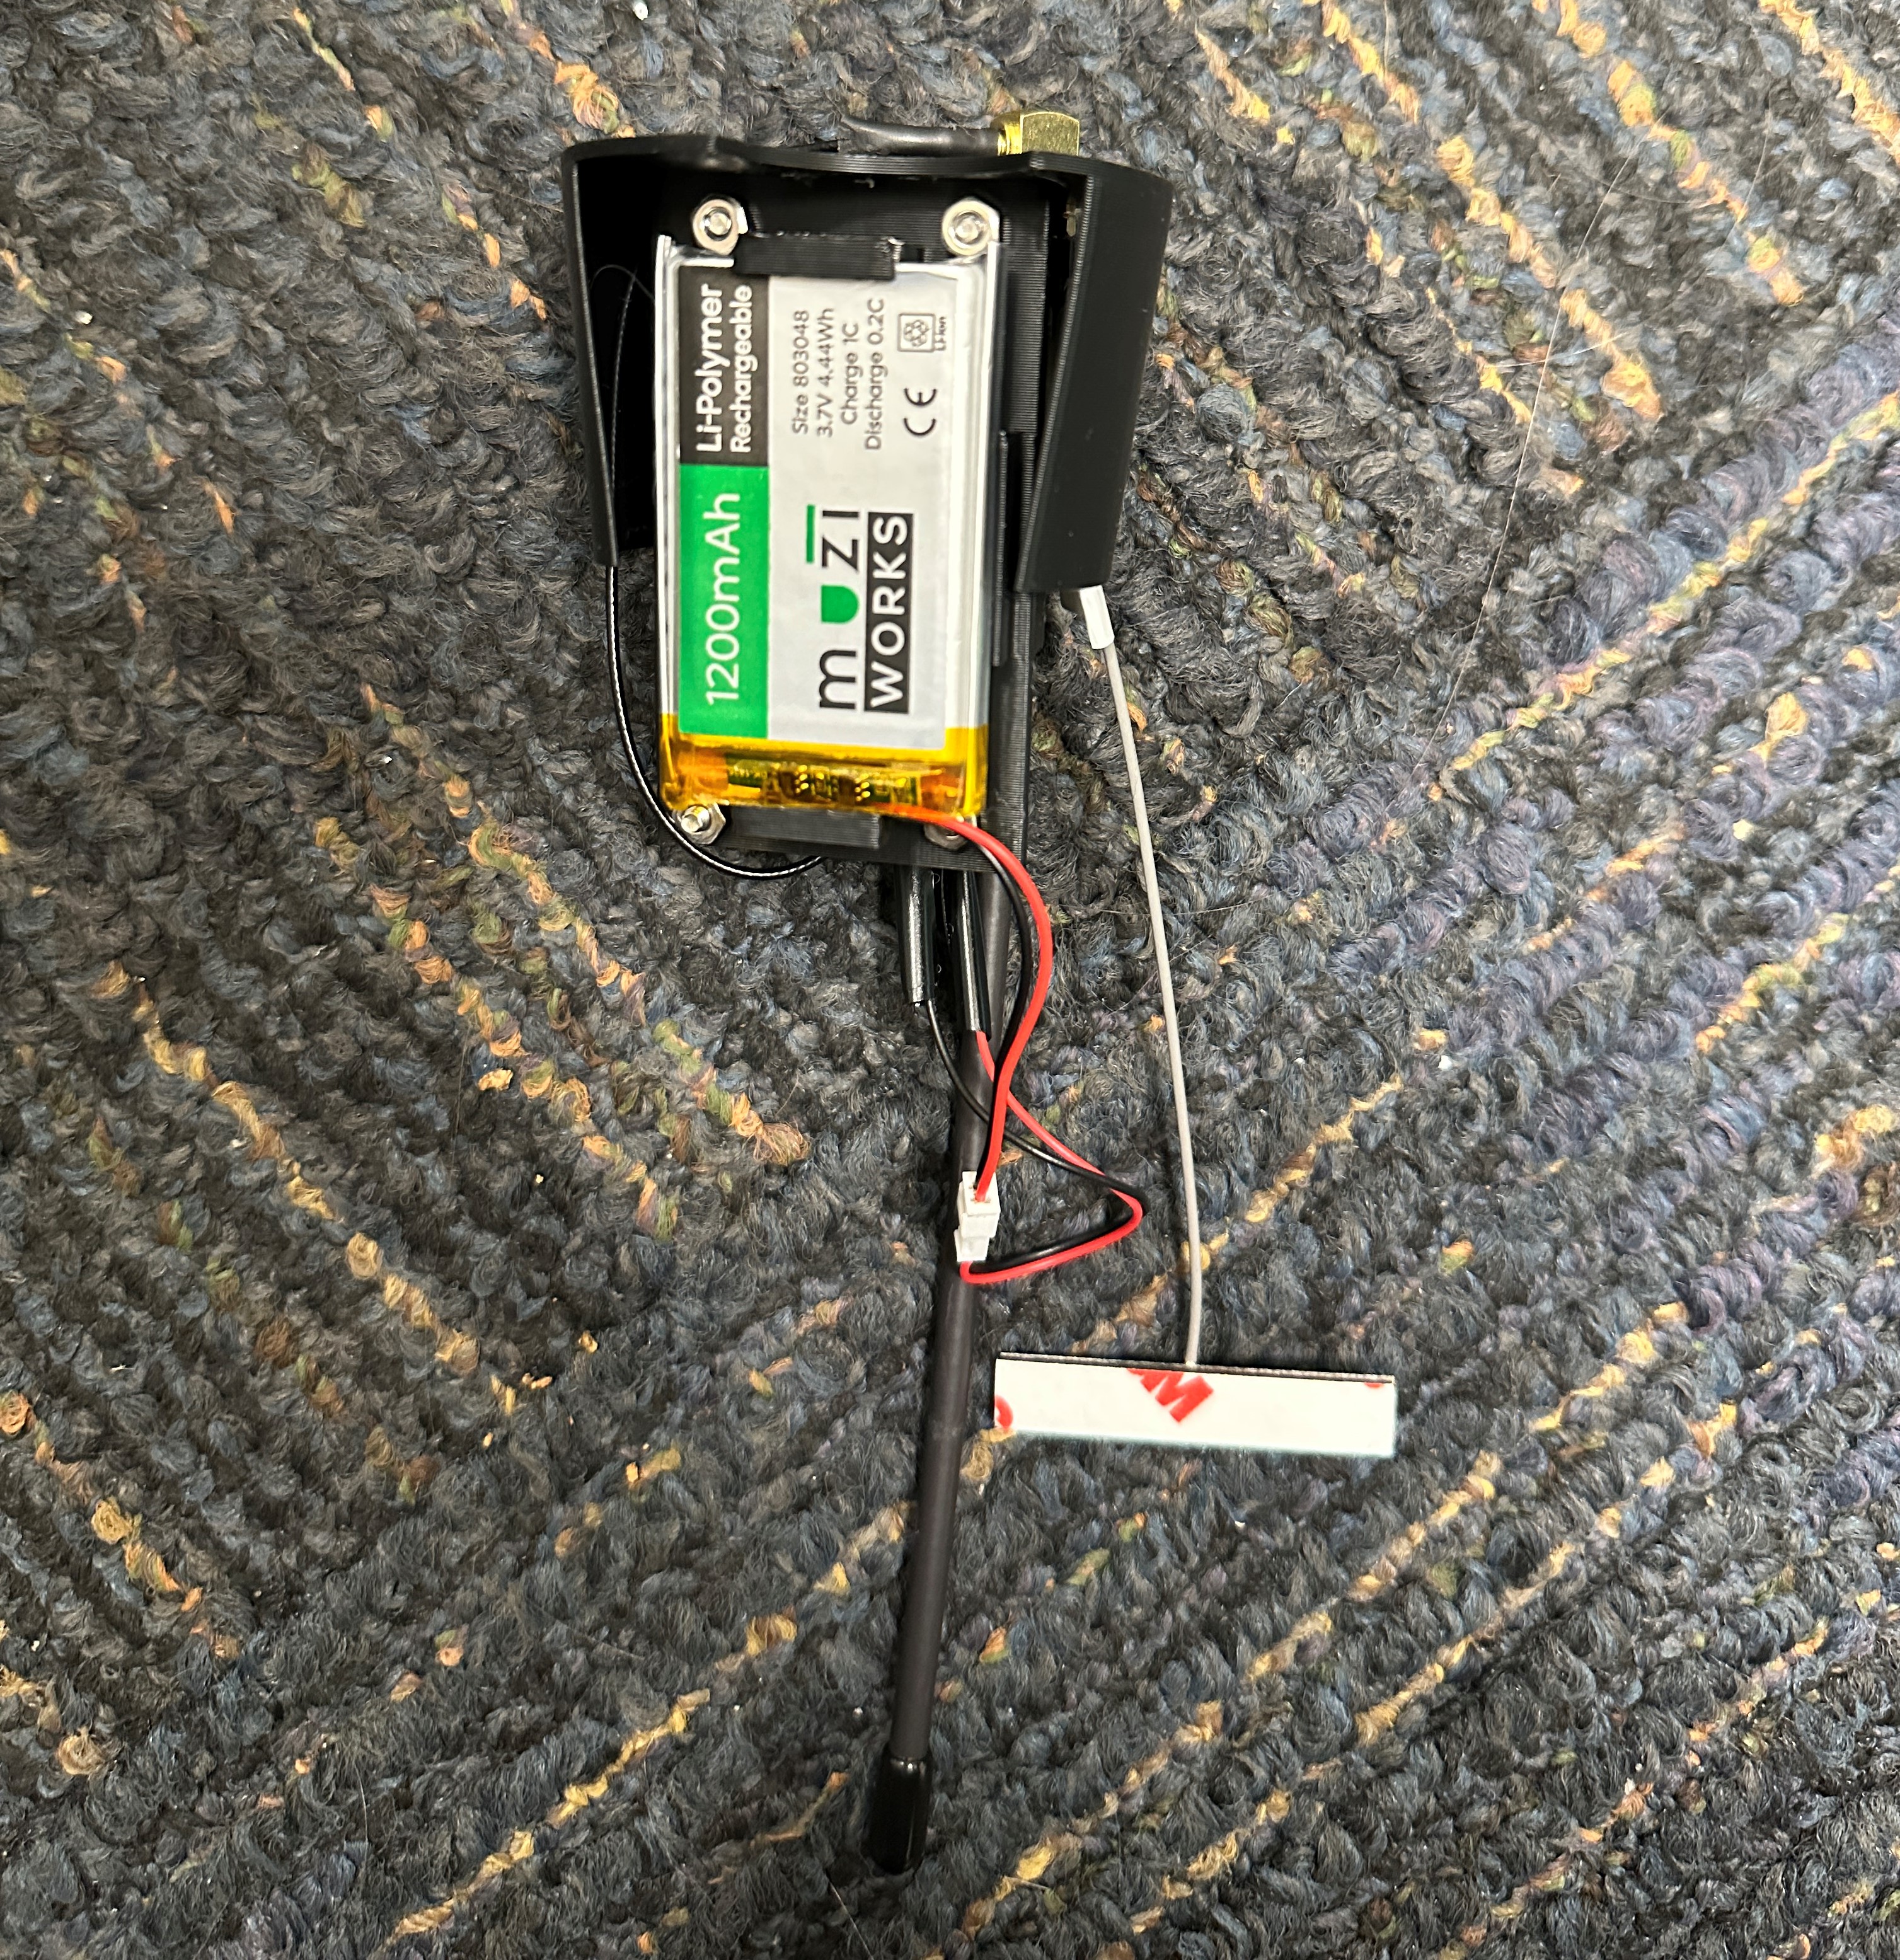
Slide the battery into the other side of the bracket and you’re good to go!